


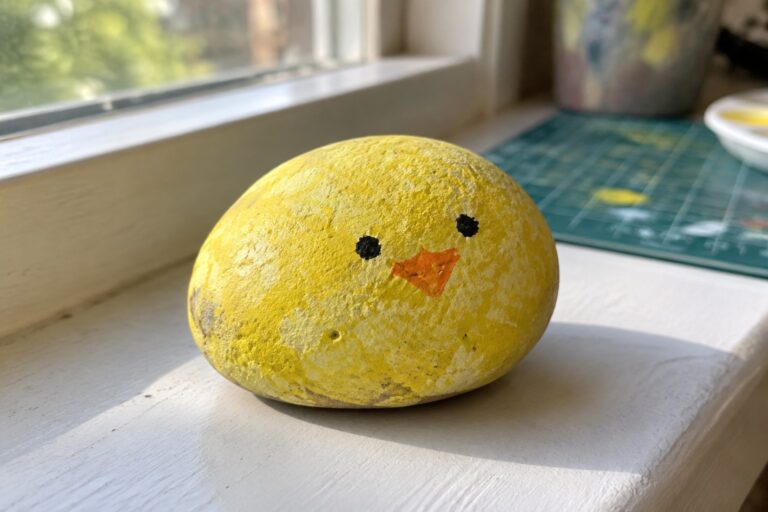
I started painting rocks with my preschool group a couple of years ago because it is an easy way to keep them busy on rainy afternoons.
Sponge painting lets the kids add patterns without needing much control or fine motor skills.
I gathered these projects because they stick to basic shapes and colors that work for a classroom or at home.
Most only need a few supplies I already had around like acrylics and old sponges.
My own kids have tried several and they end up with something they can play with outside afterward.
Sponge-Painted Chick Rock
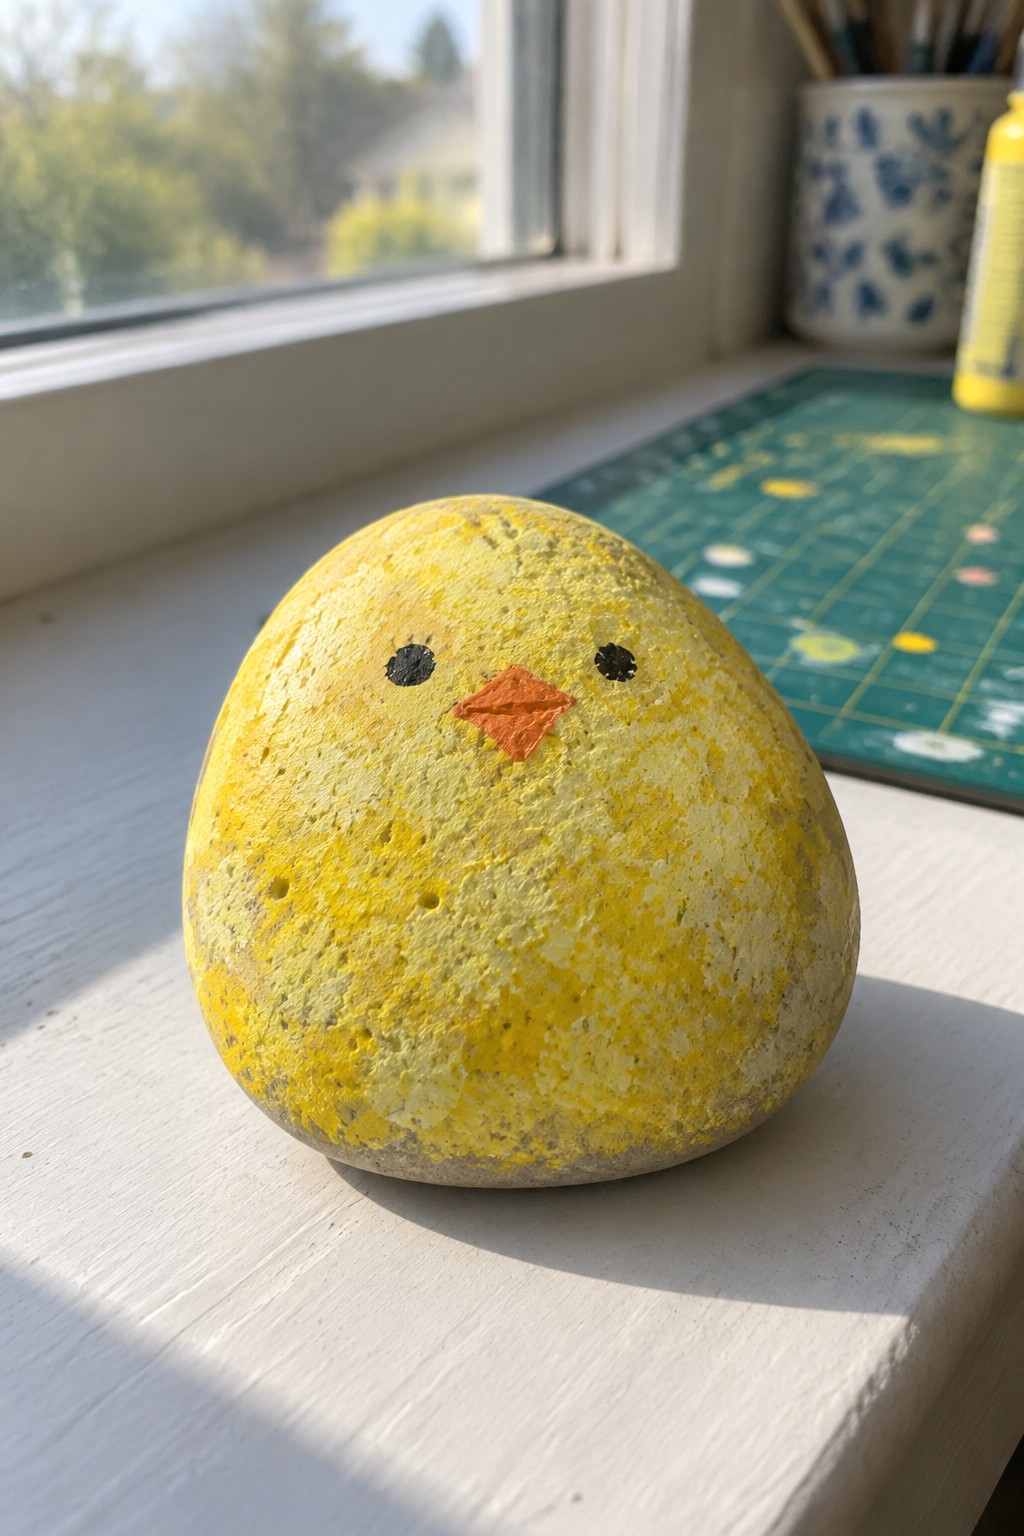
A smooth, rounded stone gets a yellow sponge-painted base that creates a soft, mottled texture across the surface. Two small black dots serve as eyes and a tiny orange diamond shape forms the beak, keeping the design simple enough for preschool hands. The natural oval form of the rock already suggests a chick body, so the painted details stay minimal while still reading clearly as an animal face. This approach fits the animal rock category and pairs well with other sponge-painted projects that rely on basic color blocking and shape recognition.
The rock shape does a lot of the work here, letting the sponge texture supply visual interest without extra brushwork. The same idea adapts easily by swapping the yellow for other bright colors or turning the beak into a different simple motif on a comparable rounded stone. It works especially well as a small windowsill accent, added to a classroom collection, or placed in a planter for quick seasonal decor. The design stays repeatable for group crafts since the sponge step covers the surface fast and the face details require only dots and one cut shape.
Sponge-Painted Strawberry Rock

A strawberry rock painting project uses an oval stone with a natural taper at one end to stand in for the berry shape. The red body is covered in repeated white sponge dots that create the seed pattern, while a simple green shape painted across the top suggests the leafy cap. This fruit rock idea works as garden or play area decor because the rounded form already carries the basic outline.
What makes this idea useful is how the sponge dots build texture quickly without fine detail work, so the same approach can be tried on other fruit shapes like cherries or apples. The rounded stone shape makes this smart for tucking into planters or lining a windowsill since it sits steady without extra stands. For a classroom set, the motif could easily be changed into blueberries by switching the base color and adjusting the dot spacing.
Sponge Painted Ladybug Rocks
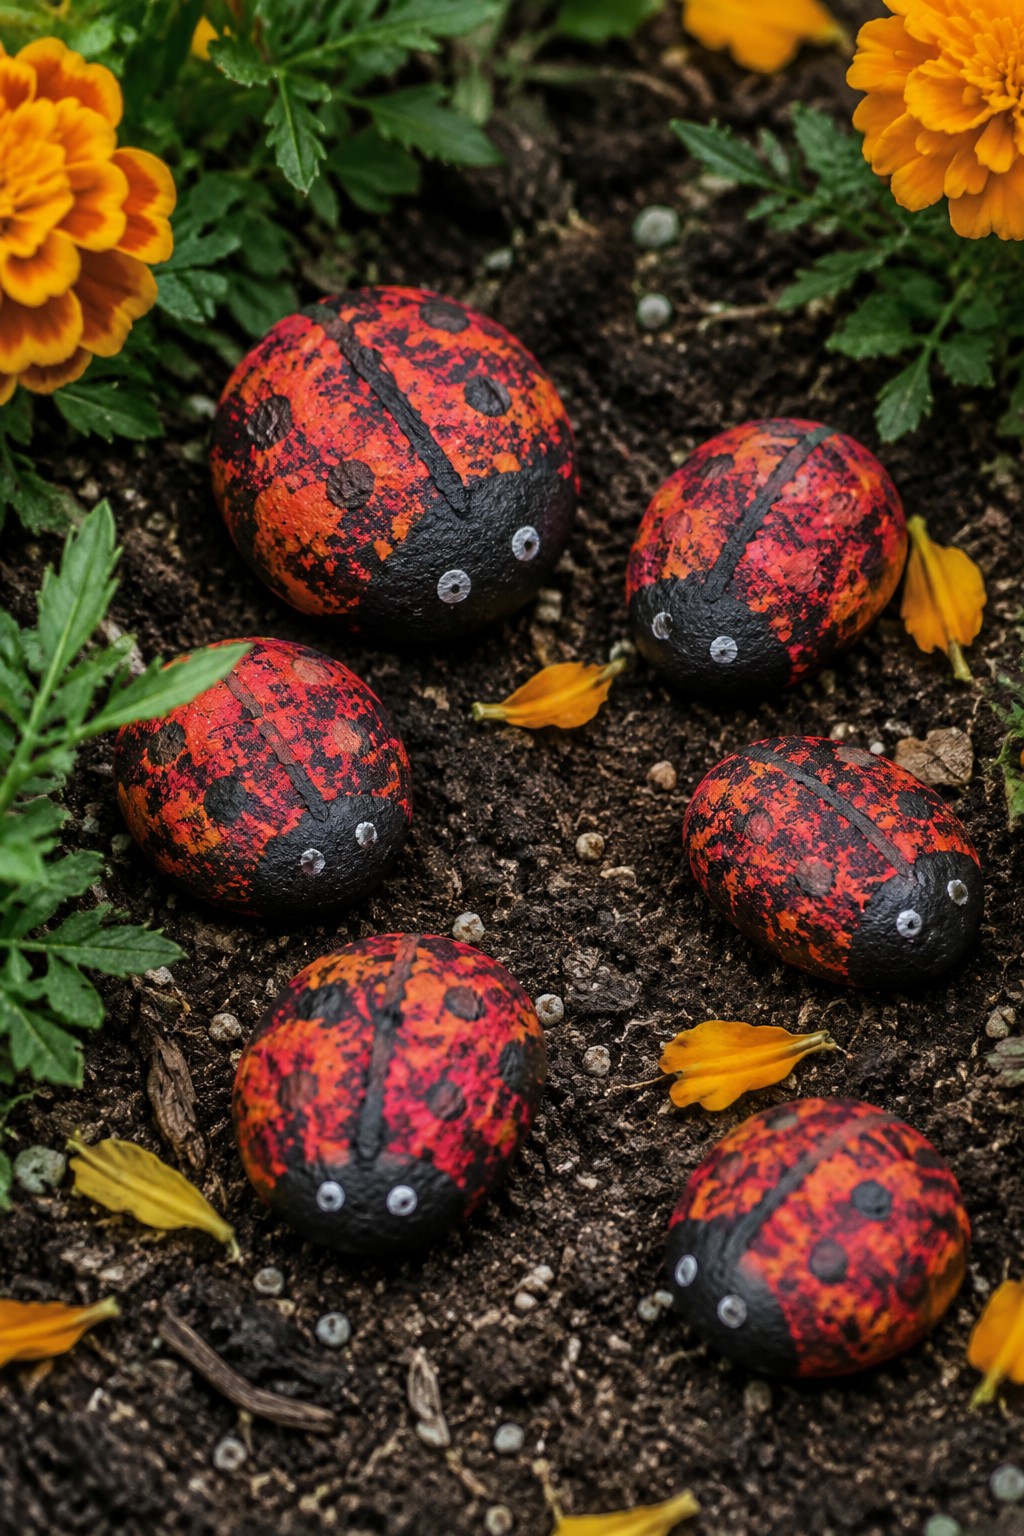
Ladybug rocks start with rounded stones that already suggest a bug shape. Sponge painting red and black across the surface creates a mottled shell pattern that mimics the look of real ladybugs without needing perfect brush control. A bold black line down the center, scattered dark spots, and a pair of small white eyes on the head area finish the design and make the bug shape easy to read from a distance. This approach fits the bug rock category and works especially well for preschool projects because the sponge technique hides small mistakes.
The rounded stone shape does a lot of the work here by giving the ladybug its natural dome without extra carving. You can adapt the idea by changing the sponge colors to orange or yellow or by simplifying the spots for even younger kids. For garden decor this kind of painted rock looks right at home in flower beds or around potted plants where the bright colors catch the eye. The small scale also makes it simple to produce a whole set for a classroom display or to tuck into gift bags.
Sponge Painted Rainbow Rock
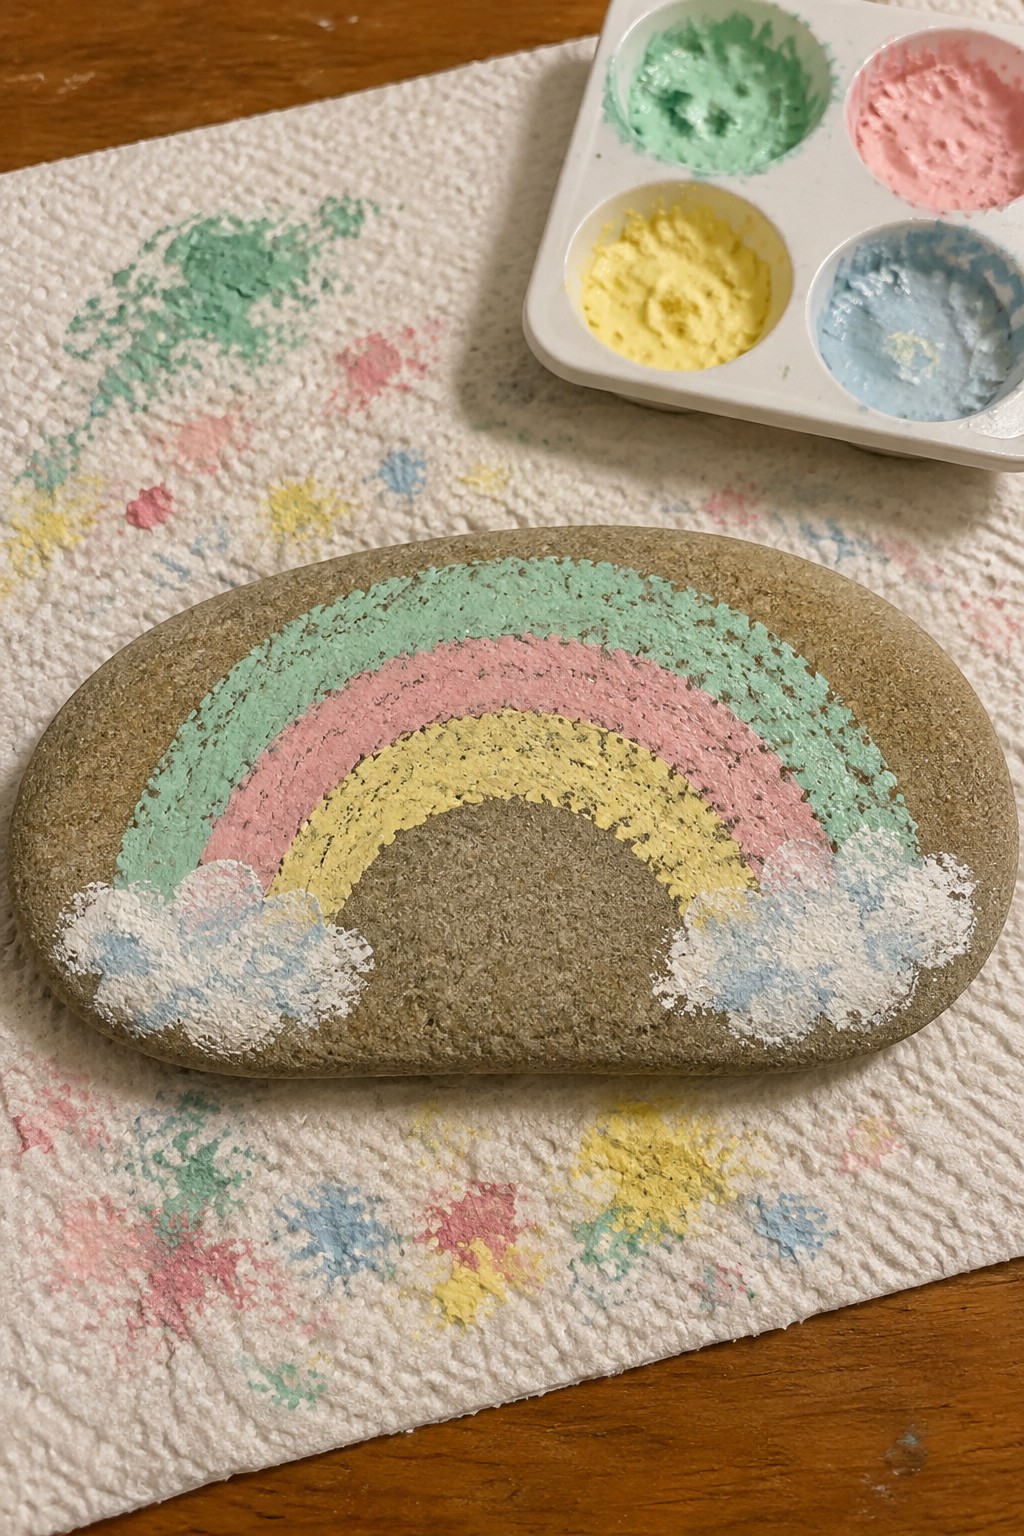
A smooth oval stone works well for a preschool rainbow project because its curved surface lets the arched bands sit naturally without extra planning. Sponge dabbing in soft green, pink, and yellow creates the main rainbow layers, while white and blue dabs at the base form simple cloud shapes. The textured paint application shows the stone’s natural surface through the colors, keeping the finished piece clearly recognizable as a painted rock rather than a flat illustration. This style falls into the decorative stone craft category and suits small display spots.
What makes this idea useful is how the rock’s oval shape already suggests the rainbow curve, so kids only need to follow the existing lines with a sponge. The same approach works just as easily on smaller pebbles or larger flat stones by adjusting the number of color bands. For a windowsill or planter accent, the soft pastel palette stays visible without clashing with other decor. The design can be simplified further by using only two colors or expanded by adding a second row of clouds if the stone is longer.
Sponge Painted Frog Rock
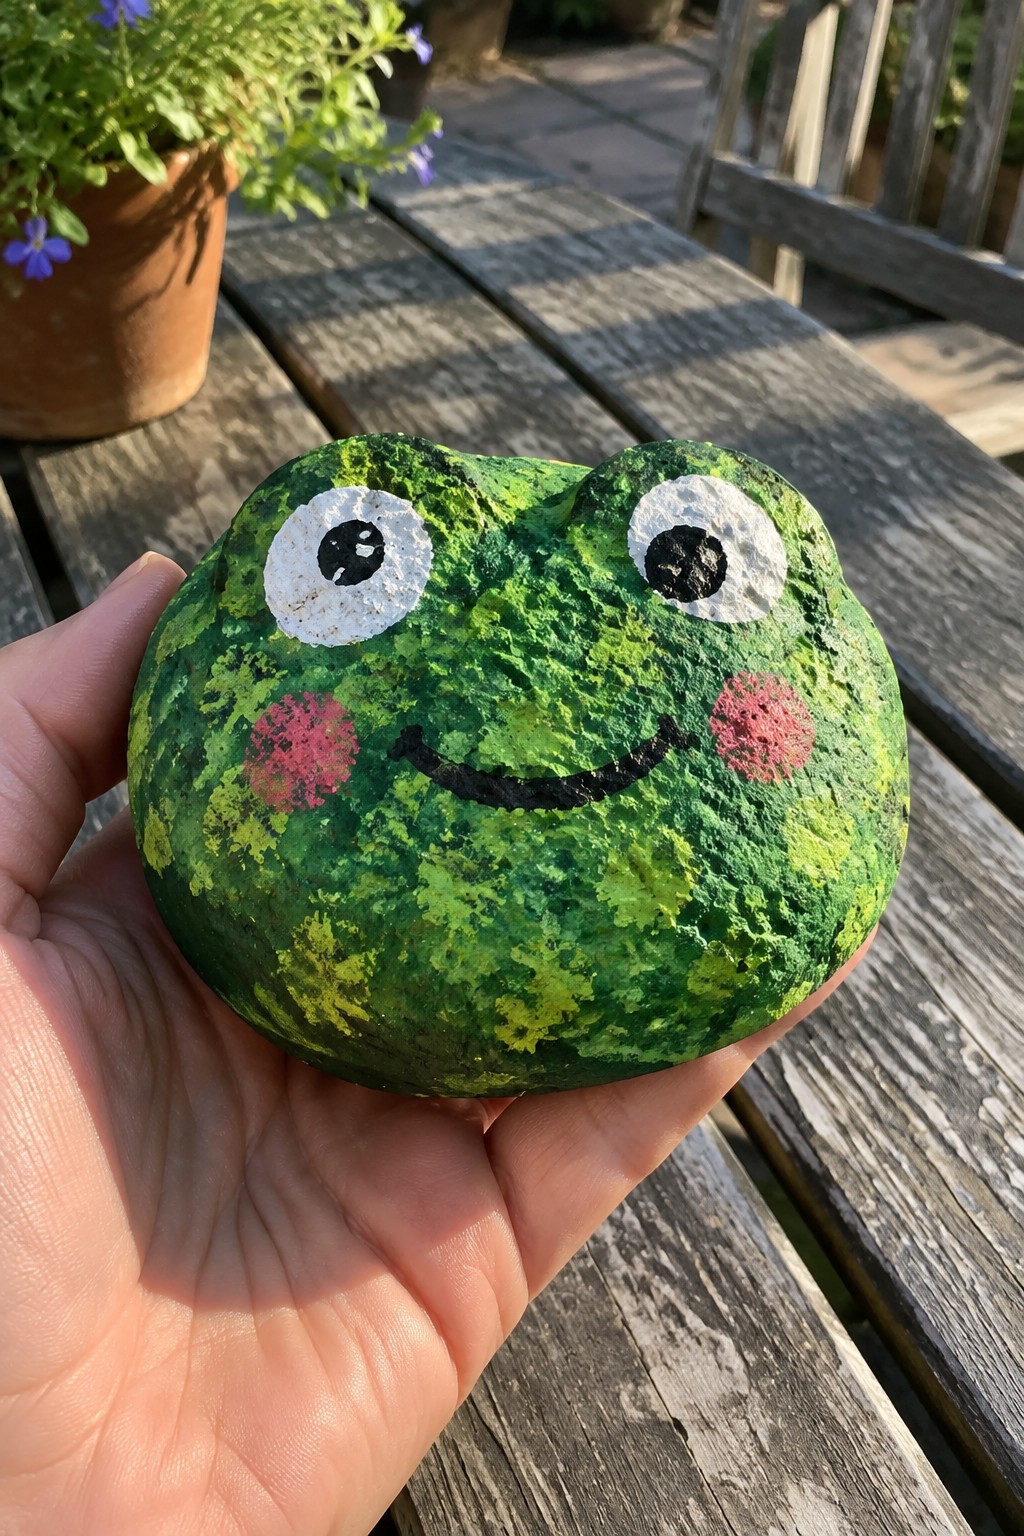
A rounded stone works well for this preschool project because its natural curve shapes the frog face without extra carving. Sponge dabbing in layers of green and yellow creates a mottled texture across the surface that suggests skin while keeping the process simple for small hands. White circles with black centers form the eyes, a curved black line makes the mouth, and two pink dots complete the cheeks, all applied directly onto the rock.
What makes this idea useful is how the sponge technique covers uneven surfaces quickly and hides minor painting mistakes. The same frog layout adapts easily to flatter stones for a garden path or to smaller pebbles that fit inside a planter. You could change the eye size or swap the pink dots for different accent colors to create a whole set of pond animals without needing new supplies.
Sponge-Painted Watermelon Rocks
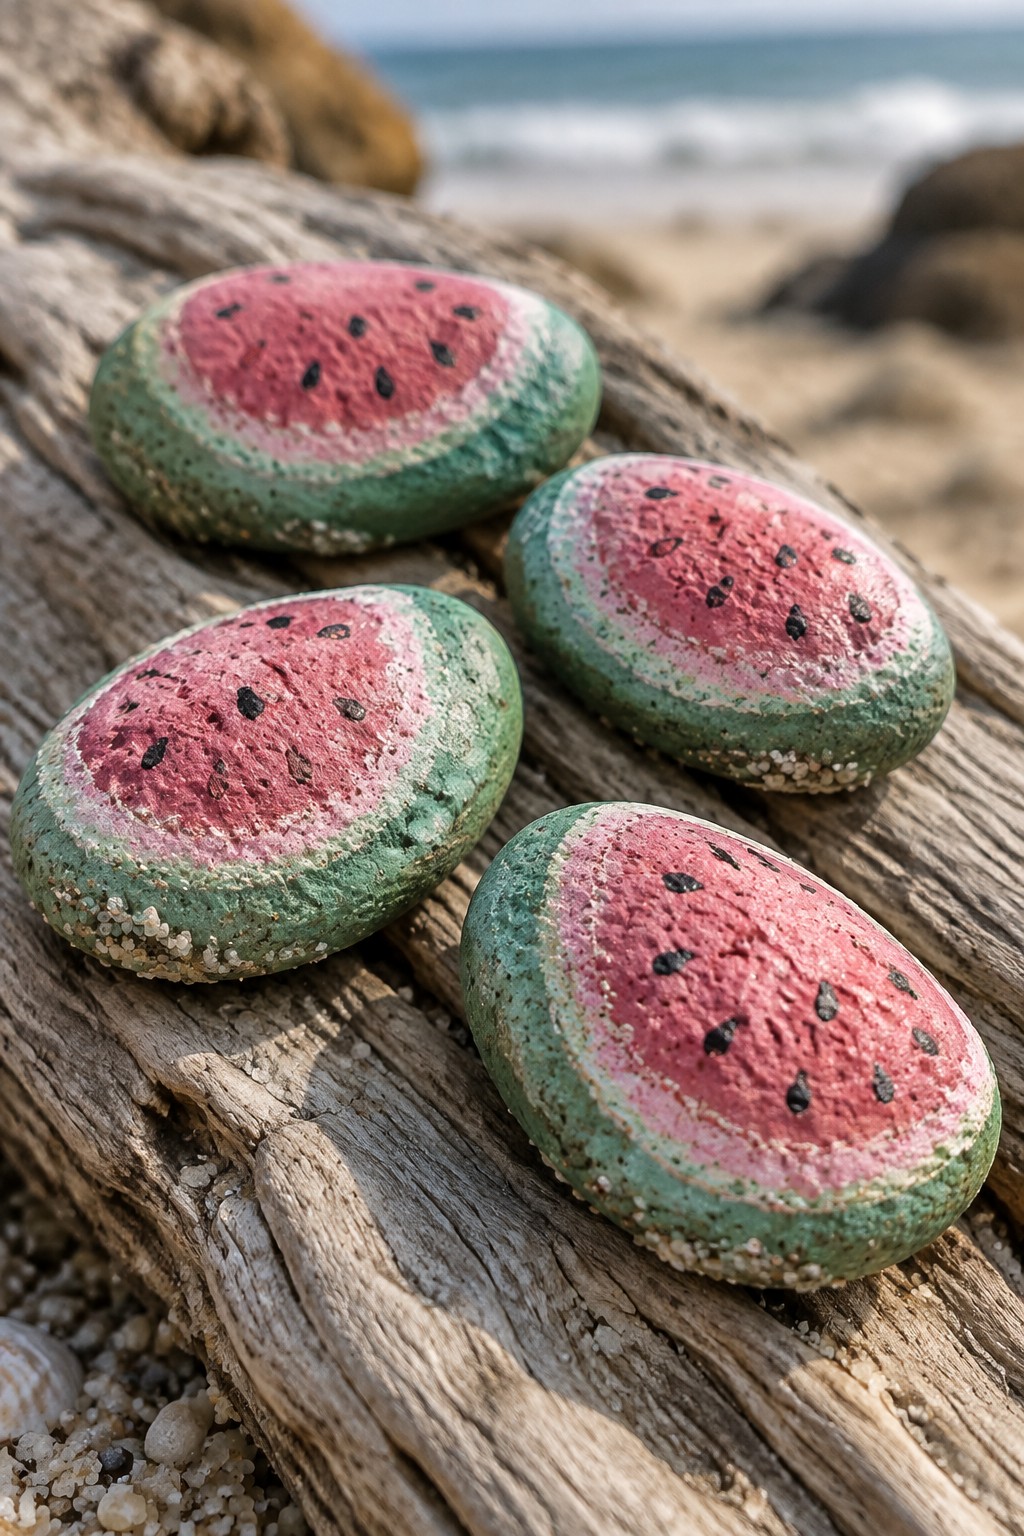
Smooth, rounded stones work well for this fruit rock idea because their curved surfaces let the green outer layer wrap naturally around the edge like a real watermelon rind. The design uses simple color blocking with a pink-red center, a thin white ring, and scattered black dots for seeds, all of which can be built up with sponge dabbing to create soft texture without fine brushwork. Preschoolers can follow the rock’s existing shape rather than trying to paint straight lines, which keeps the project quick and forgiving.
What makes this idea useful is how easily the same layers transfer to other oval or round stones you already have. The small scale means you can finish several in one session and group them together in a tray, planter, or windowsill display. You could swap the seed dots for a different pattern or change the center color to match another fruit while keeping the sponge technique the same. The bold color areas show up clearly in photos, which helps the finished rocks stand out when shared as a summer craft example.
Sponge Painted Daisy Rocks
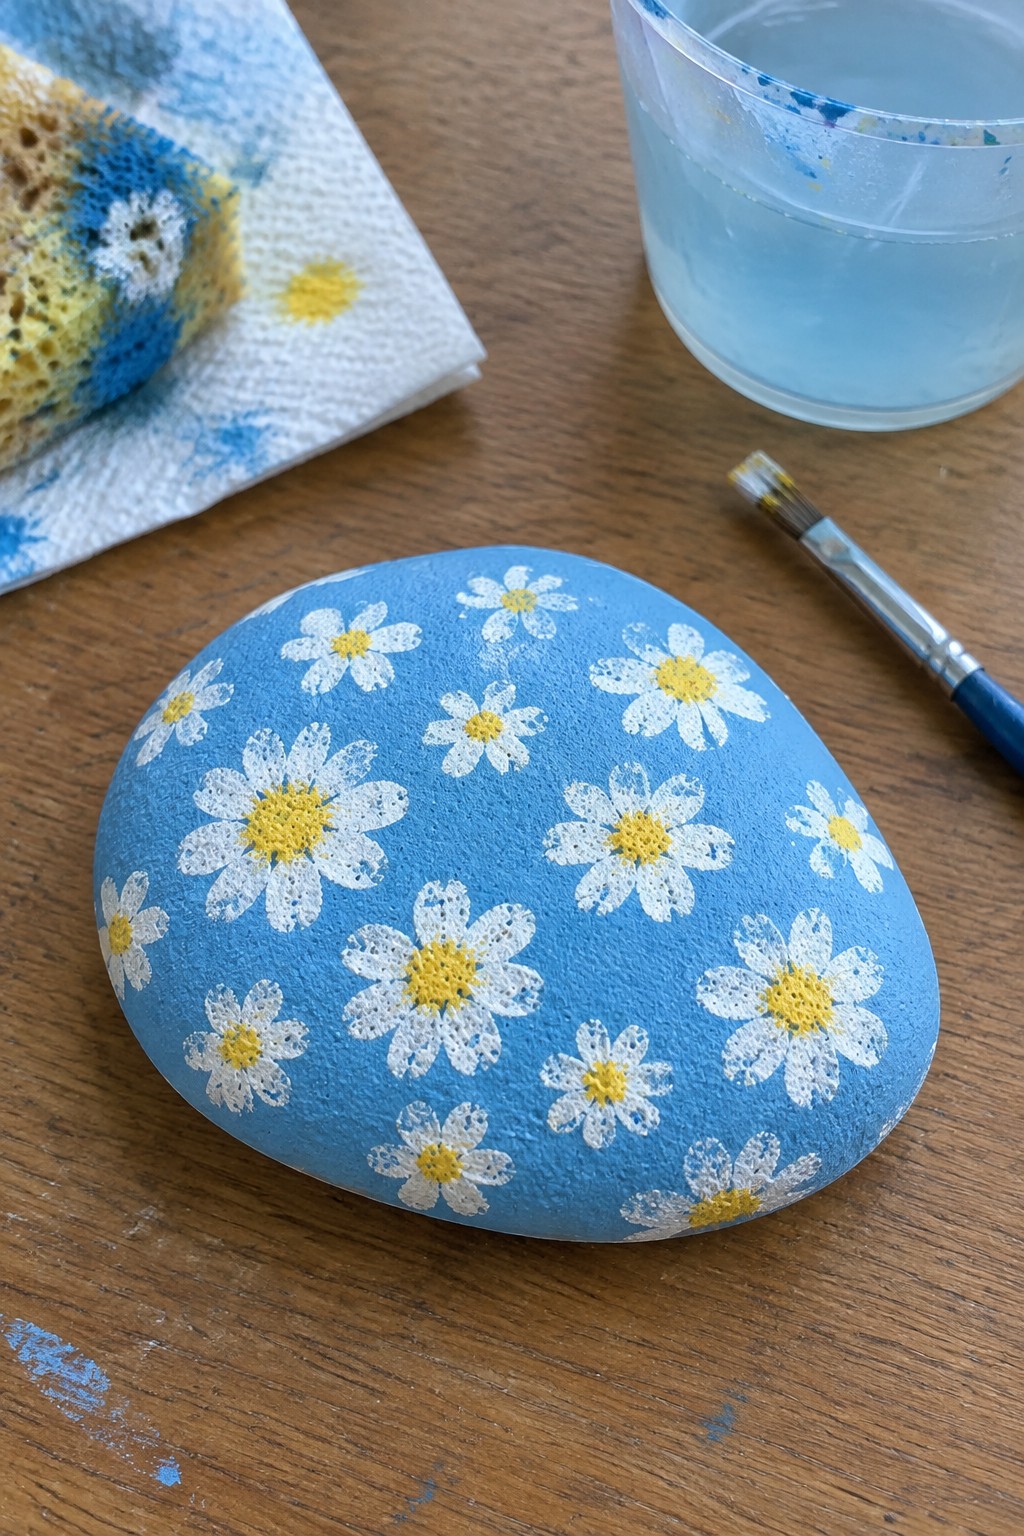
A smooth rounded rock works well for this project because its curved surface lets the blue base coat cover evenly before white daisy shapes are dabbed on top. Yellow centers are added last, and the sponge creates the soft, slightly textured petal edges that give the flowers a simple handmade look. The scattered flower arrangement turns the stone into a cheerful flower rock that fits garden decor or small indoor displays without needing precise lines or tiny details.
What makes this idea useful is how the sponge dabbing method lets preschoolers build the whole design with quick presses instead of brush control. The same scattered daisy pattern can be reworked on flatter stones or smaller pebbles, and the blue background can be swapped for green or pink to change the look for different seasons. For garden decor, this type of painted rock sits nicely in a planter or along a path, and the sponge technique makes it easy to add a few extra flowers if the first ones look too spaced out.
Sponge Painted Bumblebee Rock
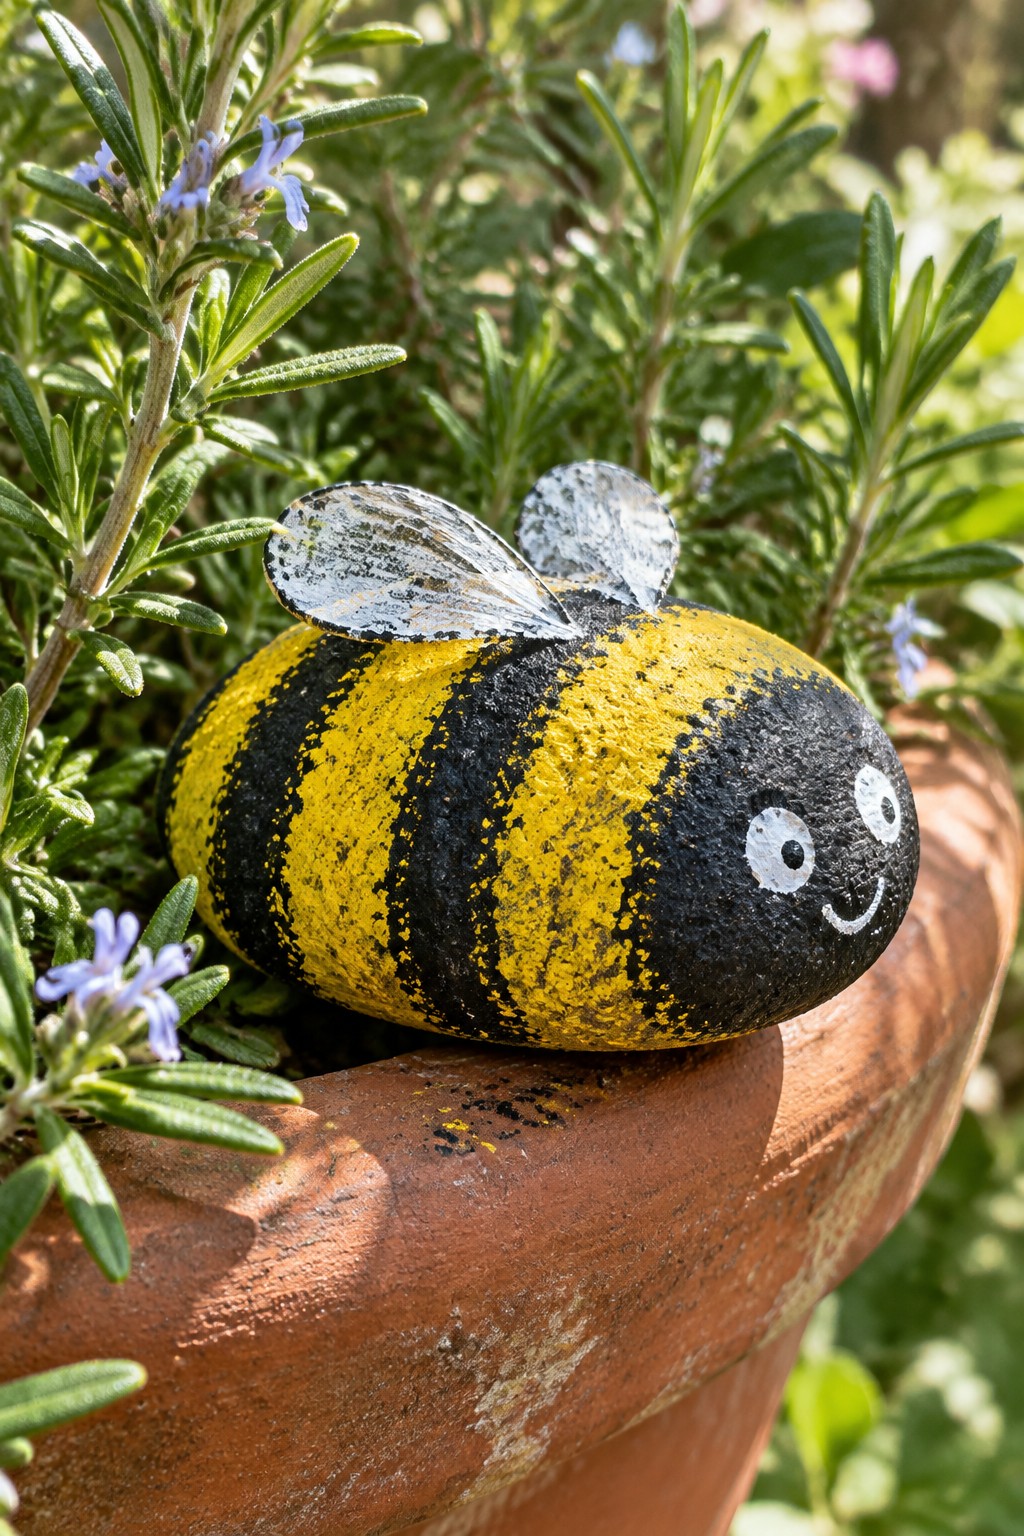
A smooth oval rock painted as a bumblebee works well for a preschool bug rock project. Yellow and black stripes cover the body in simple color blocks that sponge painting handles easily on the curved surface. Two small white circles with black centers form the eyes and a short curve makes the mouth, while separate wing shapes sit on top of the rock. This approach turns a basic rounded stone into a clear insect design without needing fine detail work.
A painted rock like this works especially well as a garden accent placed in a planter or along a flower bed border. The bold stripes read clearly from a short distance and the compact size fits small hands during group crafts. You could reuse the same sponge stripe method on a different rock shape to make a ladybug or caterpillar instead. The design stays simple enough to finish in one session while still looking finished once the rock sits outdoors.
Owl Rock With Sponge-Painted Background

A smooth, rounded stone works well for this owl project because its curved surface lets the sponge-painted background show even color variation without extra prep. The base uses a simple sponge technique to apply layers of soft pink, green, and white, creating texture that fills the rock face quickly. Large round eyes and a small orange beak are then added on top, keeping the owl shape easy to read against the busy background.
What makes this idea useful is that the sponge layer covers the entire stone in one step, which suits preschool hands and reduces the need for precise brushwork. The same mottled base can be reused for other animal faces or basic shapes on flatter or smaller rocks. For shelf or planter accents, the rounded form stays stable and the design reads clearly from a short distance without extra details.
Sponge-Painted Caterpillar Rocks

Three rounded stones painted yellow, green, and purple sit side by side to form a simple caterpillar. The yellow rock at the front has two black antennae and a basic smiley face, while the green and purple rocks serve as body segments with matching faces. Sponge dabbing gives each stone a soft, textured color block that follows the natural curve of the rock without needing precise lines.
What makes this idea useful is how the three-rock format lets preschoolers work in short steps without getting overwhelmed. The same sponge technique works on any similar rounded stones, and the caterpillar can stretch into four or five rocks if more are available. This painted set fits well along a windowsill, in a small planter, or as a take-home craft after a preschool session. The faces can switch to different expressions or the colors can change to match a current theme like spring or bugs.
Sponge-Painted Ice Cream Cone Rock

A food-inspired rock project like this uses an elongated stone with a pointed tip to stand in for an ice cream cone. The lower section gets painted brown and marked with a simple grid to suggest a waffle texture, while the upper portion receives three stacked bands of color in green, pink, and purple. Sponge painting creates the soft, textured look of the scoops, and a few small drips near the tip finish the melting effect.
What makes this idea useful is how the stacked color blocks translate directly to sponge techniques that preschoolers can manage without fine brushwork. The same rock shape can be reworked into a layered popsicle or a tall cupcake by swapping the top colors and adding basic outlines. A painted rock like this works especially well as a play kitchen prop, a windowsill accent, or a small gift that fits in a child’s hand. The cone form also scales easily to smaller stones if you want a whole set.
Sponge-Painted Mushroom Rocks

These painted rocks use rounded stones shaped like mushroom caps and stems to create a cluster of fly agaric mushrooms. A bright red base covers the larger cap rocks while white sponge dots add the spotted pattern across the curved surfaces. The narrower stones below get painted white to form the stems, letting the natural rock forms carry most of the shape. This approach fits the decorative stone craft category and works well for preschool projects since the sponge dots require no precise brush control.
What makes this idea useful is how the rounded rock shapes already suggest mushrooms before any paint goes on. A painted rock like this works especially well tucked into planters, mulch beds, or along porch steps where the red stands out. The small scale makes this easy to adapt by painting single mushrooms on pebbles or a larger group on bigger stones. For preschoolers, swapping the red for other colors or using different sponge sizes keeps the same simple technique fresh across multiple rocks.
Sponge-Painted Turtle Rock
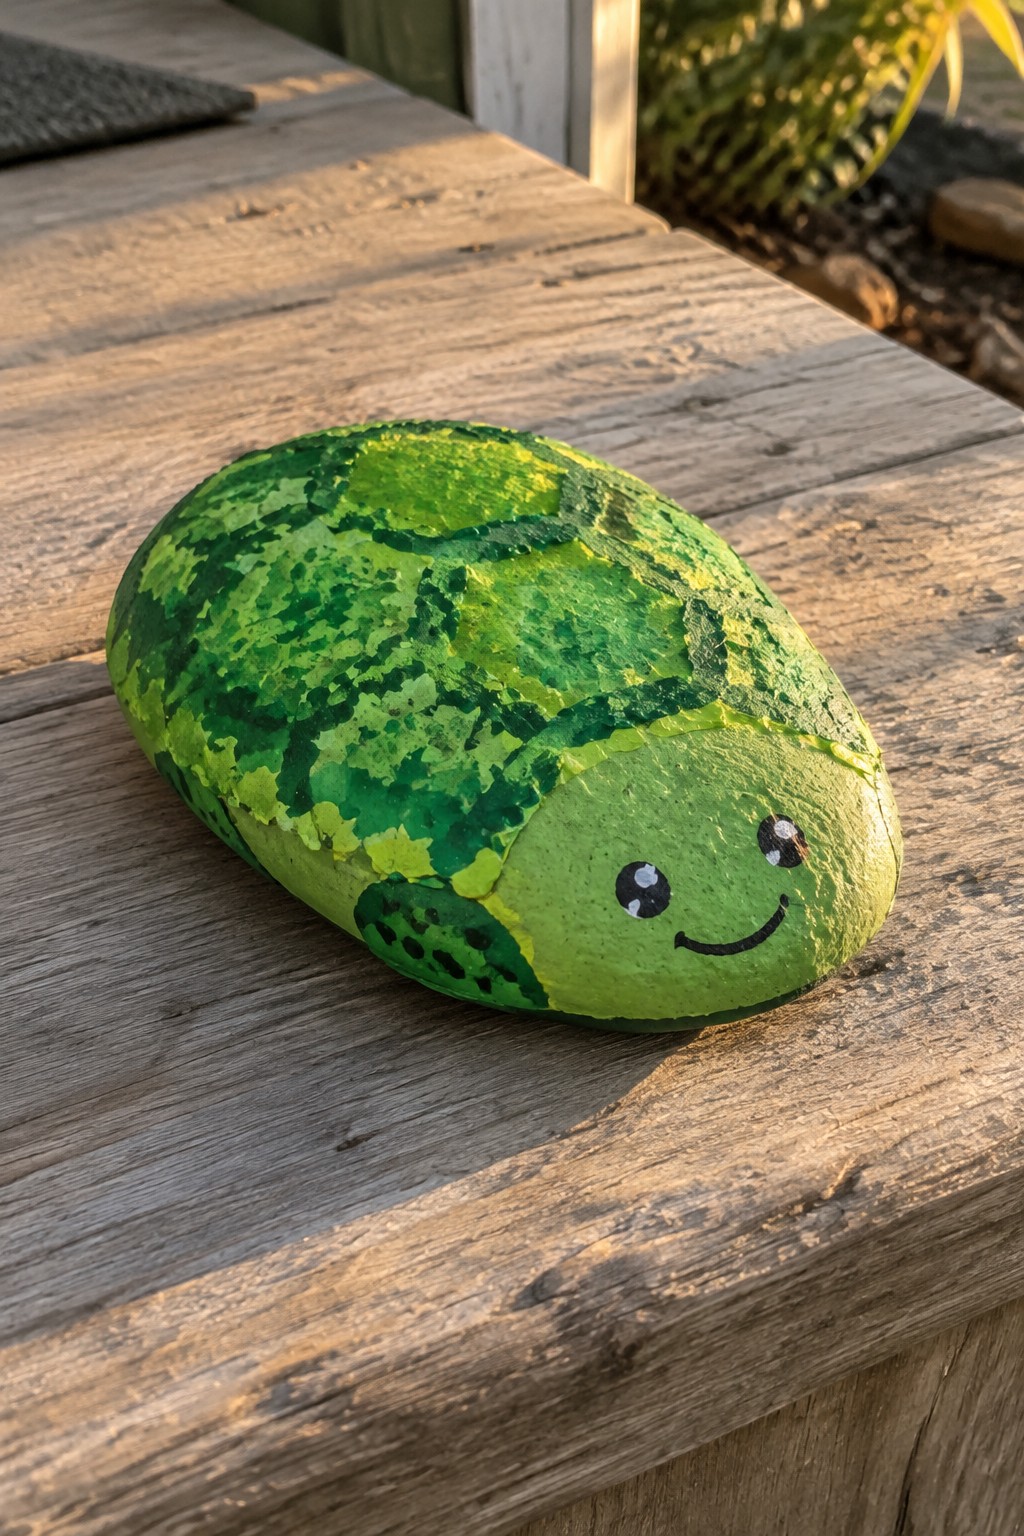
A smooth, oval river rock works as the base for a simple turtle design where the upper half receives sponge-painted layers of dark and light green to form the shell pattern. The lower section stays a solid lighter green to represent the head and front flipper area, with basic dots and a curved line added for the face. This keeps the project focused on an animal rock that uses the stone’s natural rounded shape rather than fighting it.
The sponge method lets preschoolers build texture quickly by dabbing instead of drawing fine lines, so the shell still reads clearly even when the paint application stays loose. The same idea adapts easily to smaller stones for a group project or to different green shades for a garden display among plants. The rounded form helps the finished piece sit naturally on a windowsill or in a planter without tipping.
Sponge-Painted Fish Rocks
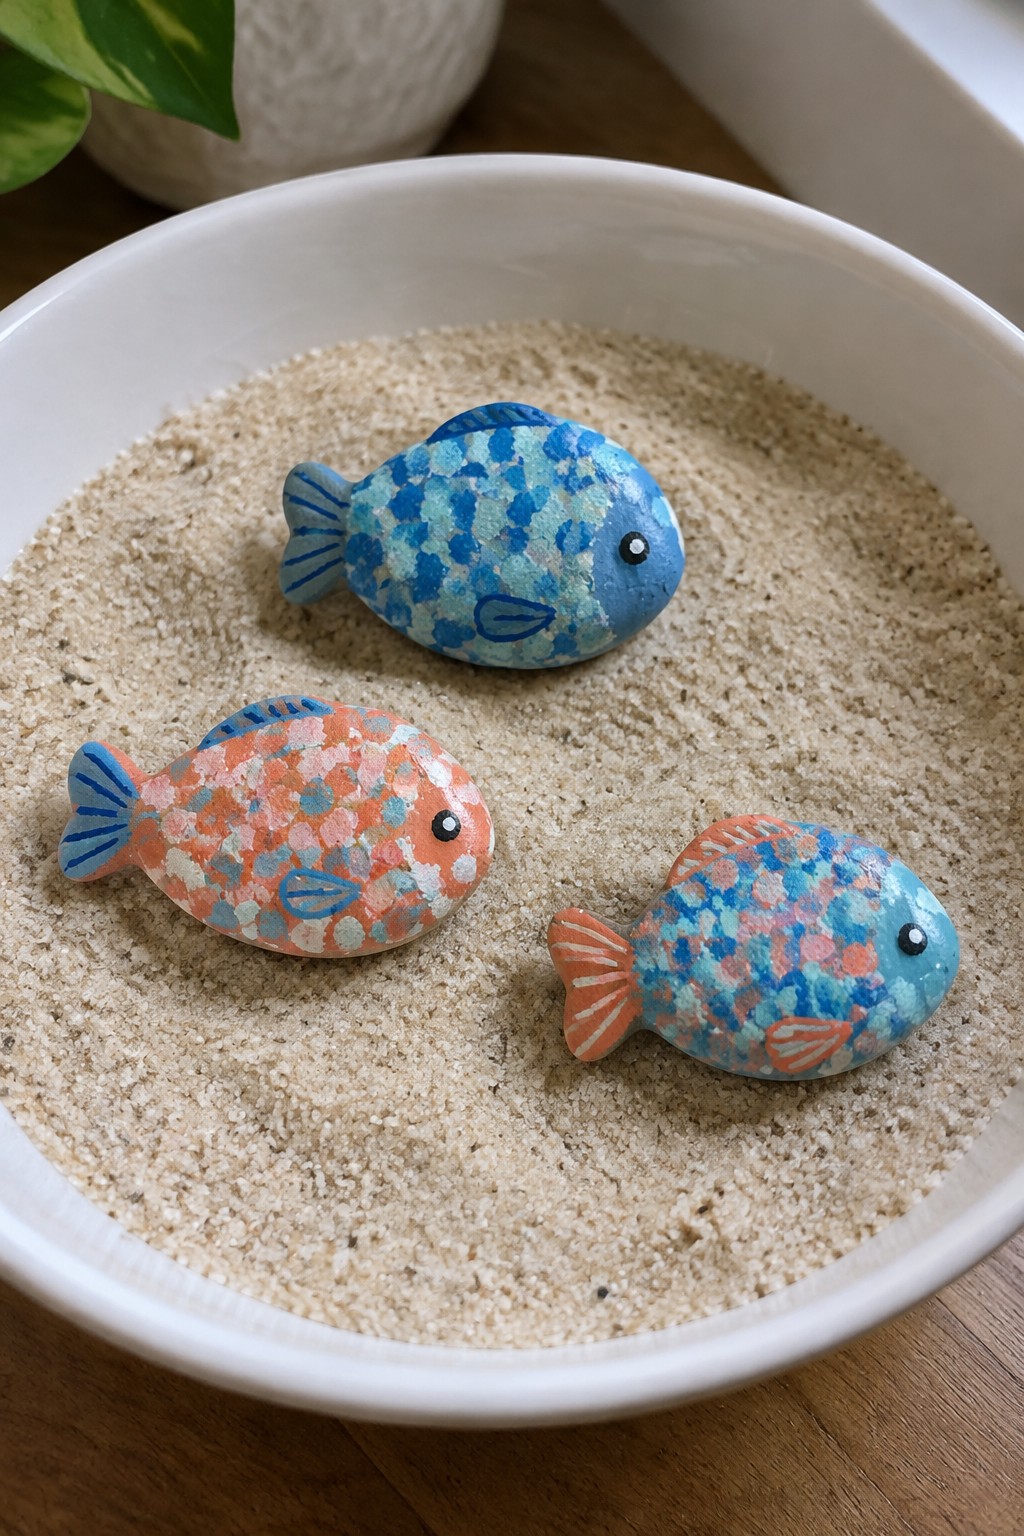
Small rounded stones painted as fish use sponge dabbing to build the body color in overlapping patches of blue, orange, and coral. The sponge creates a mottled scale effect across the surface while simple brush lines define the fins, tail, and eye. This approach keeps the shapes recognizable even on irregular rock edges and works as a set when the colors stay in the same family.
What makes this idea useful is how the sponge method lets preschoolers cover the rock quickly without worrying about even coverage. The fish shape can shift to a turtle or whale on a wider stone, or the same dabbing can turn into a ladybug on a round pebble. These painted rocks display well in a shallow tray of sand, a classroom windowsill, or a child’s small collection jar. The pattern also photographs clearly for sharing project ideas.
Sponge-Painted Sun Stone
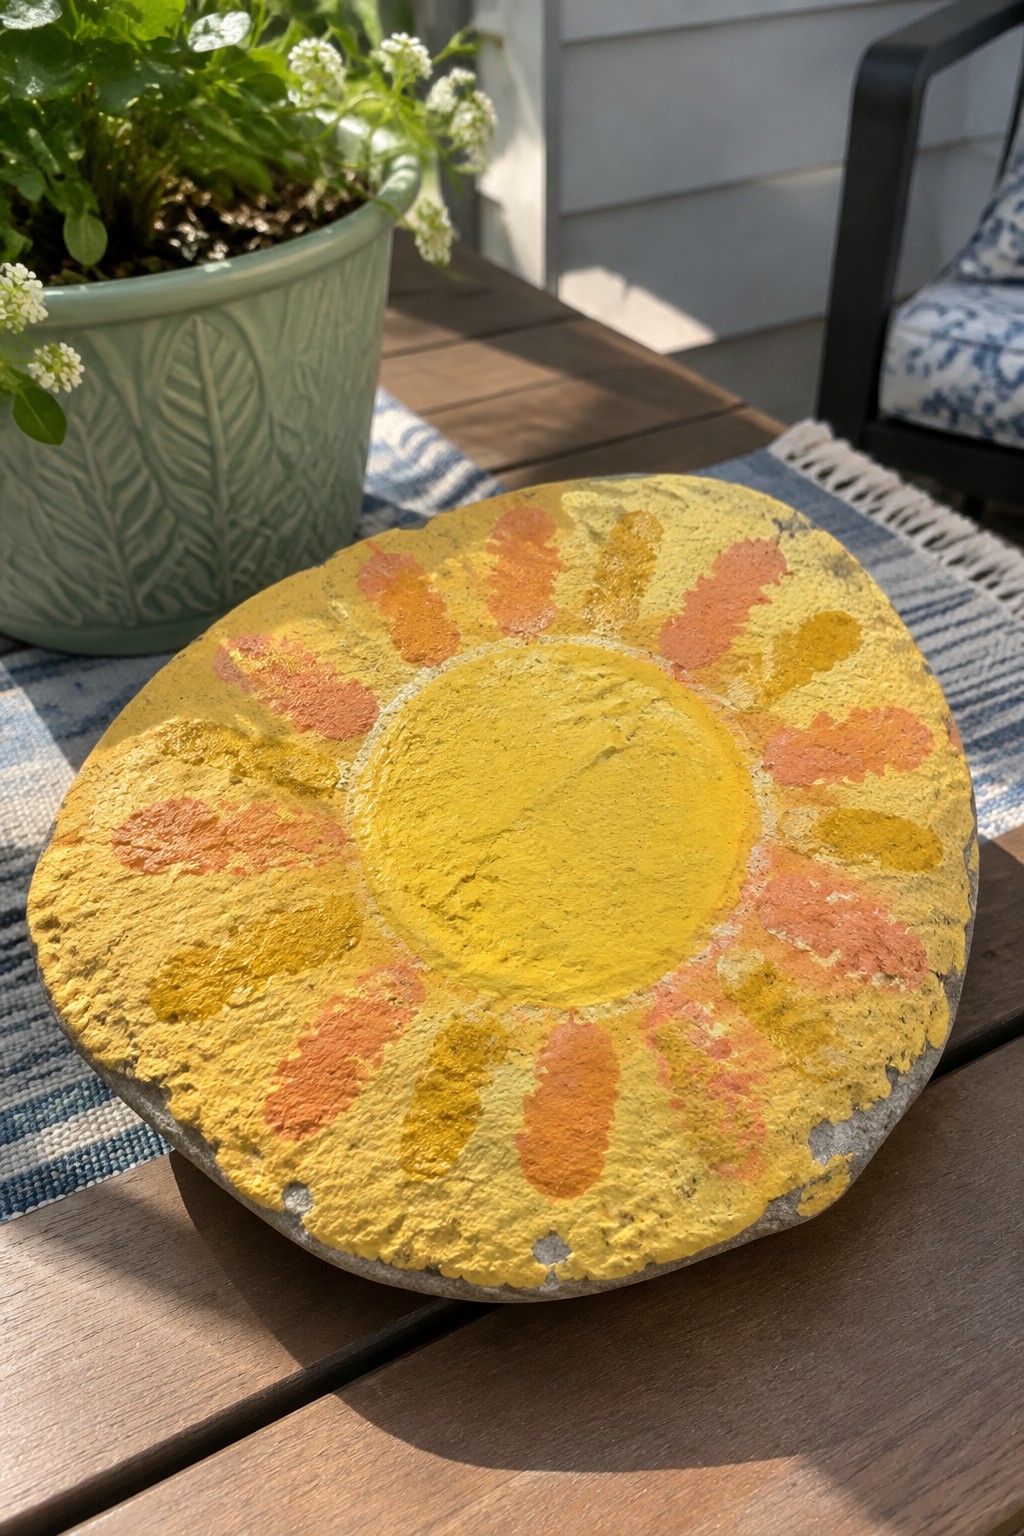
A flat, irregular stone works as the base for a simple sun design made with a solid yellow center circle and short radiating rays. The rays are built from dabs of yellow and orange that create a textured, broken-edge look typical of sponge application. This approach suits stones with natural surface bumps because the paint catches on the raised areas and leaves the recessed spots darker for added depth. It falls into the decorative stone craft category and makes a bright accent for outdoor spaces.
What makes this idea useful is how the sponge method lets preschoolers cover area quickly without steady brush control. The flat stone shape keeps the sun stable when set in a planter or along a garden border. You could reuse the same ray layout for a flower or star by switching the outer colors while keeping the center circle. The rough stone texture shows through the paint enough to give the finished piece a handmade outdoor feel without extra steps.
Sponge Painted Heart Stones

Heart-shaped stones take on a soft blended effect when paint gets dabbed on with sponges in sections of shifting colors. The rounded rock surfaces hold the spongy texture well, and a simple white dashed outline plus scattered dots finish the design without extra detail. This approach works as a painted pebble set that stays clearly handmade on the actual stone.
What makes this idea useful is how the sponge method hides uneven edges on irregular rock shapes. The small scale makes these easy to line up in a row for a shelf accent or drop into a planter. You could change the heart outline to a star or circle and reuse the same color blocks and dot accents on any smooth stone you find.
Frequently Asked Questions
What supplies are needed to start sponge painted rock projects with preschoolers? Gather smooth flat rocks from a craft store or outdoors, washable acrylic paints in bright colors, kitchen sponges cut into shapes like stars or hearts, paper plates for paint palettes, and paint smocks to protect clothing. Having everything ready in advance helps the activity flow smoothly without interruptions.
How should rocks be prepared before applying sponge designs? Wash the rocks thoroughly with soap and water to remove dirt, then let them dry completely overnight. This step ensures the paint adheres well and prevents colors from smearing during the sponge painting process.
What techniques make sponge painting easy for young children? Cut sponges into basic forms and show kids how to dip just the edge lightly into paint before pressing onto the rock. Encourage simple dabbing motions rather than rubbing to create textured patterns, and start with one color at a time to build confidence.
How long does it take for the projects to dry and what about sealing them? Painted rocks need at least 24 hours to dry fully in a well ventilated space. For rocks that will sit outside, apply a clear outdoor sealant spray in thin layers after drying to protect the designs from weather.
How can these ideas be adapted if a preschooler prefers their own creative approach? Use the 16 projects as loose inspiration by offering a variety of sponge shapes and letting the child combine colors freely. This keeps the focus on fun exploration while still incorporating the sponge painted element.
